Introduction
Admin Panel is an Important thing for any Web Application.
There are numbers of Admin Panel Packages available for Laravel.
Here’s the few links that I visited :
https://laravelvoyager.com/
https://backpackforlaravel.com/
http://laravel-boilerplate.com
We are using Laravel Boillerplate, so start with Installation :
Laravel Boilerplate Installation
1. Download the package from link given below :
https://github.com/rappasoft/laravel-5-boilerplate/archive/master.zip
2. After Downloading completed, extract package in your project directory(C:/wamp/www/<project-directory>).
3. This package requires javascript packages for frontend development, you will need the Node Package Manager.
First of all install nodejs in your system, download the package by using this link https://nodejs.org/en/ and install it properly.
After installation of nodejs we have to set environment variable for node.
1. Right click on This PC > Properties
2. Advanced system settings > Environment Variables
3. User Variables for "<your PC name>" > Path > Edit
4. Copy the location where your nodejs is installed
1. e.g. : ;C:\Program Files\nodejs\
Note : Put Semicolon at the beginning of the location.
2. At the end of your Path Variable paste the location.
After that close the terminal and open it again. write npm to check whether it is installed or not.
e.g. : C:\>npm

4. Now navigate to root directory of the package and run the below command.(Composer is needed, it should be already installed).
composer install
e.g. :

The composer will install all dependencies required by the package.(It will take few minutes)
5. Next is npm for all javascript packages for frontend development, to install npm :
npm install
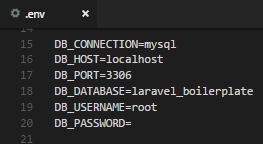
6. Create database on your server and in your .env file update the following lines.
DB_CONNECTION=mysql
DB_HOST=localhost
DB_PORT=3306
DB_DATABASE=
DB_USERNAME=
DB_PASSWORD=
e.g. :

7. Now Artisan Commands :
1. Set application key :
php artisan key:generate
It will set APP_KEY in .env file.
2. Migrations to create the database tables :
php artisan migrate
After successful execution of this command the table is migrated into database.
3. Seed the database with :
php artisan db:seed
We have some default rows in table after successful execution of this command.
8. Now that we have the database tables and default rows, we need to build styles and scripts. Run the command below.
npm run dev
The styles and scripts are generated using Laravel Mix, which is wrapper around many tools, and works off the webpack.mix.js in the root of the project.
9. After this command we are ready to run the project using artisan command.
php artisan serve
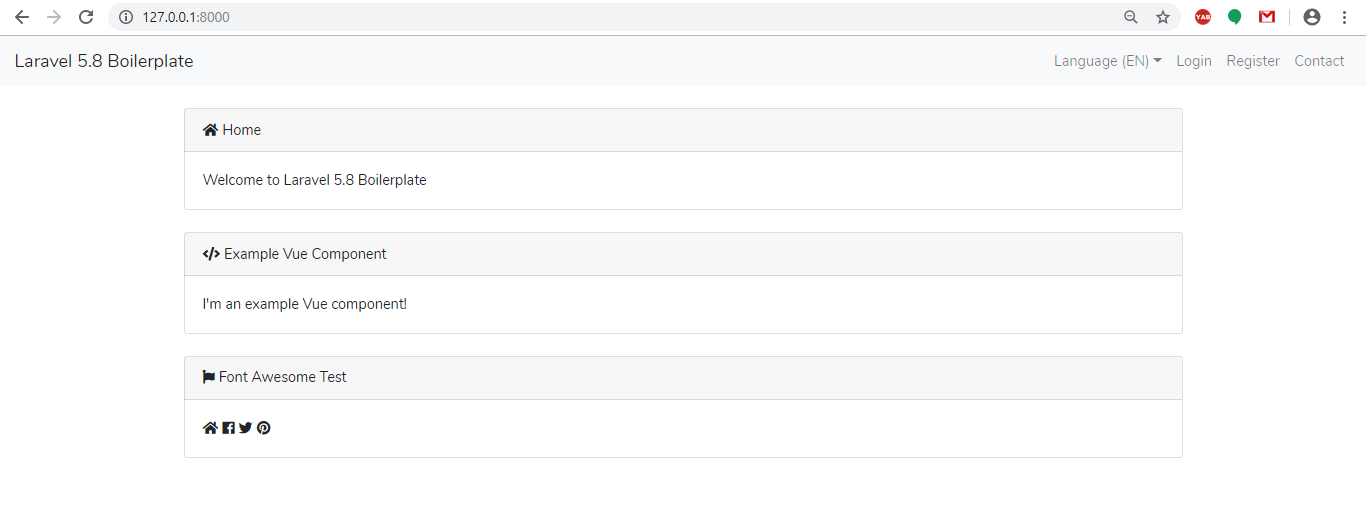
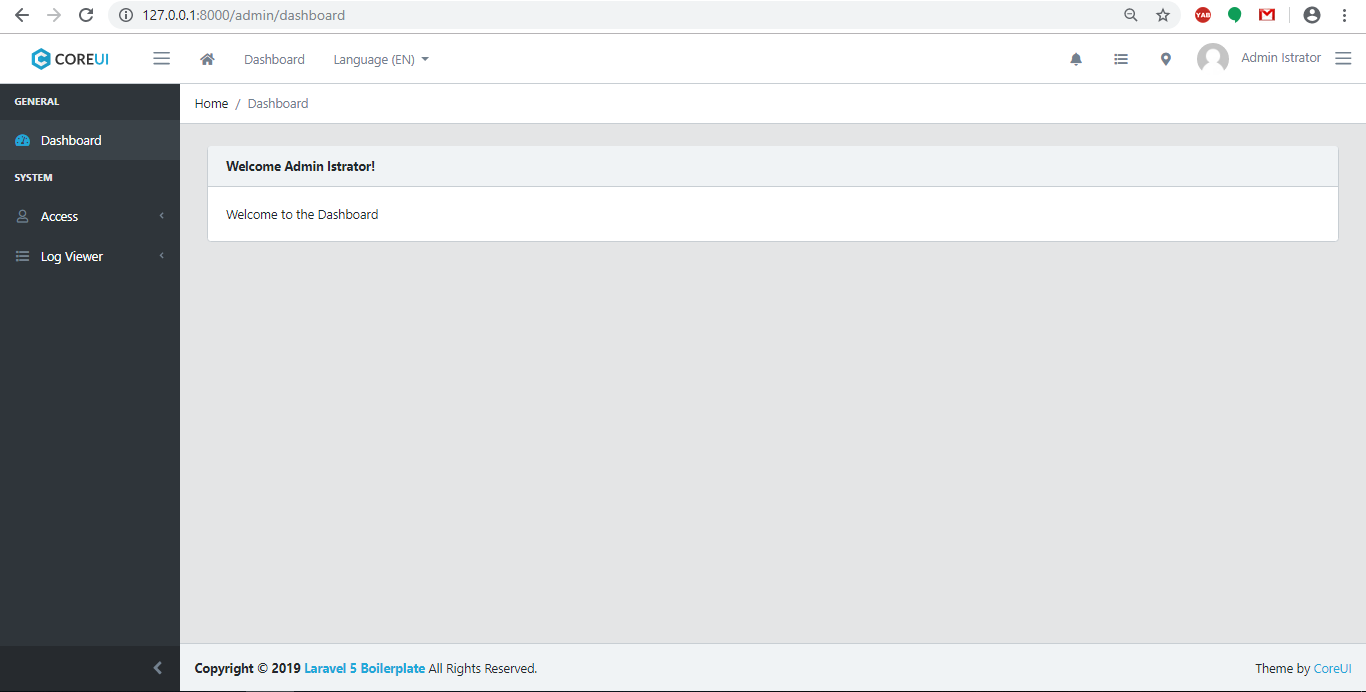
Output :

Frontend :

Backend :
To see backend click on login and the credentials for admin :
Username: admin@admin.com
Password: secret

10. After your project is installed, make sure you run the test suite to make sure all of the parts are working correctly, from the root of your project run :
phpunit
11. To link your public storage folder for user avatar uploads use command below.
php artisan storage:link
Some features of Laravel Boilerplate :
Register/Login/Logout/Password Reset
Account Confirmation By E-mail
Resend Confirmation E-mail
Option for Manual Account Confirmation by Admin
Enable/Disable Registration
Administrator Management
Rererences :
http://laravel-boilerplate.com/5.7/start.html
http://laravel-boilerplate.com/5.7/documentation.html