Features:
Select file with allowed extensions
Zoom-in
Zoom-out
Crop
Rotate
Step 1: Create a new angular project.
ng new editable-image-upload
Step 2: npm install cropperjs —save
Step 3: Add below code in the “index.html” file in the head tag.
<link rel="stylesheet" href="https://cdnjs.cloudflare.com/ajax/libs/cropperjs/2.0.0-alpha.2/cropper.min.css"
integrity="sha512-6QxSiaKfNSQmmqwqpTNyhHErr+Bbm8u8HHSiinMEz0uimy9nu7lc/2NaXJiUJj2y4BApd5vgDjSHyLzC8nP6Ng=="
crossorigin="anonymous" referrerpolicy="no-referrer" />
Step 4: npm install material-design-icons
Step 5: Add below code in the “index.html” file in the head tag.
<link href="https://fonts.googleapis.com/icon?family=Material+Icons" rel="stylesheet">
Step 6: Create a new component with the “ng g c image-taker” command.
Step 7: Add @angular/material module if not installed yet with below command
ng add @angular/material
Step 8: Add a button in your app.component.html.
<div class="container">
<button (click)="onUploadFile()" class="button">Upload your Image</button>
</div>
Step 9: Implement “onUploadFile()” in “app.component.ts”.
constructor(public dialog: MatDialog) {}
onUploadFile() {
const dialogRef = this.dialog.open(ImageTakerComponent, {
panelClass: 'app-image-taker',
width: '800px',
height: '800px'
});
dialogRef.afterClosed().subscribe((result) => {});
}
Step 10: Make sure to declare the “MatDialogModule” in app.module.ts
Now, we will learn how to use cropperjs.
Let’s design image-taker.component.html
Step 1: add an input control to select a file.
<input type="file" (change)="onFileSelected($event)" />
Step 2: add an editable image space.
<img
#sourceImage
[src]="imageSource"
crossorigin
id="checkinImage"
class="image"
/>
Step 3: add edit action button.
<a class="btn material-icons" (click)="onEdit()">edit </a>
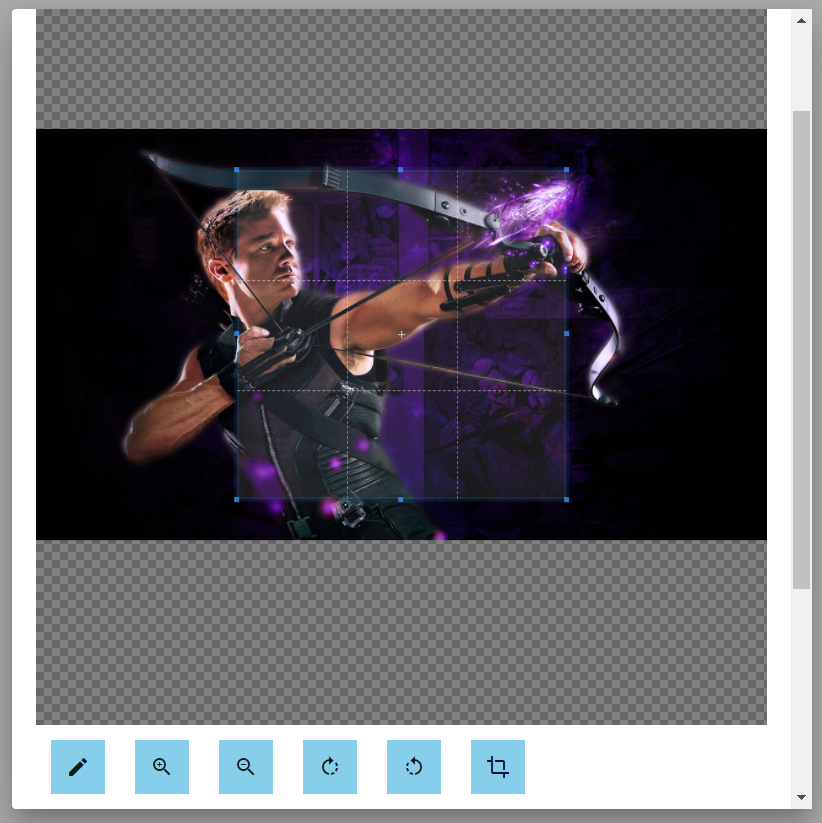
Step 4: add different action buttons for editing.
<a class="btn material-icons" *ngIf="isInEditMode" (click)="onZoomIn()">zoom_in</a>
<a class="btn material-icons" *ngIf="isInEditMode" (click)="onZoomOut()">zoom_out</a>
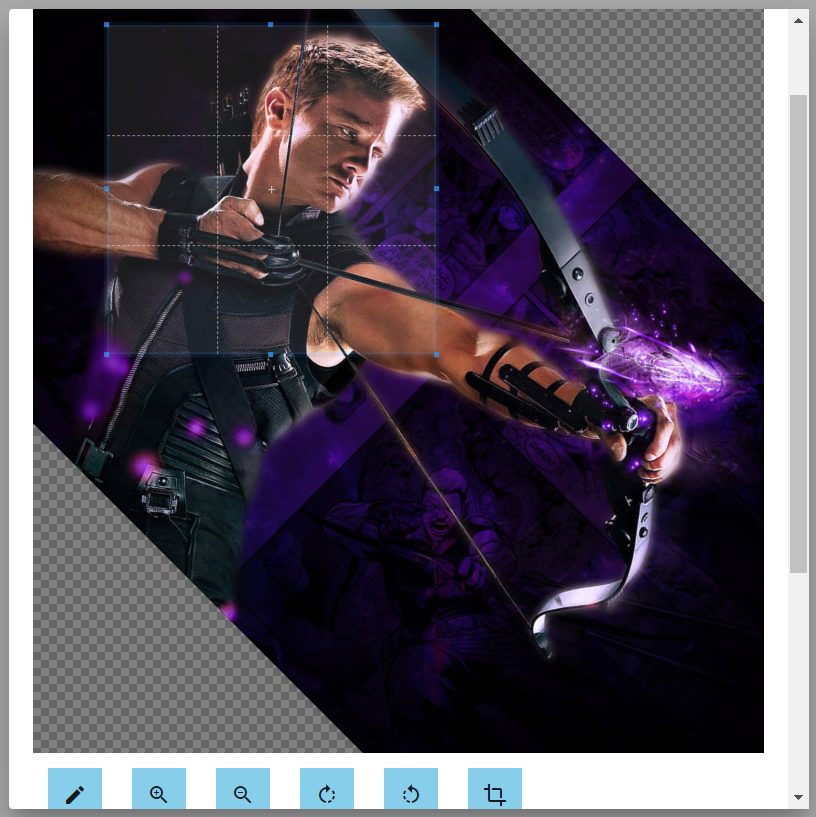
<a class="btn material-icons" *ngIf="isInEditMode" (click)="onRotateRight()">rotate_right</a>
<a class="btn material-icons" *ngIf="isInEditMode" (click)="onRotateLeft()">rotate_left</a>
<a class="btn material-icons" *ngIf="isInEditMode" (click)="onCropper()">crop</a>
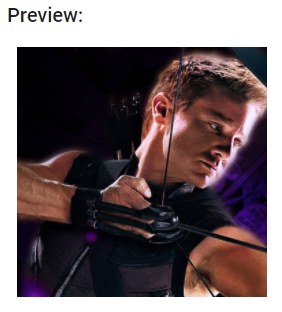
Step 5: add a preview image box.
<h2>Preview:</h2>
<img [src]="imageDestination" class="img-preview" />
So, if I summaries, it will look like this.

Let’s code image-taker.component.ts
Step 1: Declare the required variables.
isInEditMode = false;
public canvasData!: Cropper.CanvasData;
private cropper!: Cropper;
@ViewChild('sourceImage', { static: false })
public imageElement!: ElementRef;
@Input('src')
public imageSource!: string;
public imageDestination!: string;
SelectedFile!: File;
isHidden = false;
Step 2: Implement the “onFileSelected()” method.
onFileSelected(event: any) {
if (!event.target.files || !event.target.files.length) {
this.isHidden = false;
return;
} else {
const file: File = event.target.files[0];
const reader = new FileReader();
reader.onload = (e) => {
this.imageSource = reader.result!.toString();
};
reader.readAsDataURL(file);
this.isHidden = true;
}
}
Step 3: Implement “onEdit()” as a click event for “Edit Button”.
onEdit() {
this.isInEditMode = !this.isInEditMode;
if (this.isInEditMode) {
this.setCropper();
}
}
setCropper() {
this.cropper = new Cropper(this.imageElement.nativeElement, {
zoomable: true,
scalable: true,
aspectRatio: 1,
crop: () => {
const canvas = this.cropper.getCroppedCanvas();
this.imageDestination = canvas.toDataURL('image/png');
},
});
}
Step 4: Implement the “Image Editing Functions”.
onRotateRight() {
this.cropper.rotate(45);
}
onRotateLeft() {
this.cropper.rotate(-45);
}
onZoomIn() {
this.cropper.zoom(0.1);
}
onZoomOut() {
this.cropper.zoom(-0.1);
}
onCropperDisable() {
this.cropper.disable();
}
onCropperEnable() {
this.cropper.enable();
}
onCropper() {
this.cropper.crop();
}
Step 5: Check the output.